


 It finally arrived! Jackson's fourth birthday party! Robots have been slowly taking over our house for weeks, in the form of shirts (found a great one for Bren at Gymboree, then I made Jack's and Ethans...I will do a super easy tutorial on Ethan's later on), bean bags and bean bag robot boards, party favors, banners...the list goes on and on!
Warning: Before you begin reading this, do not think I spent a ton of money on this birthday. I did not. Not including the goodie bags (more on that later) and cake (to bake and cover in fondant always costs me about $7-10 for the supplies), I spent maybe $25 on everything!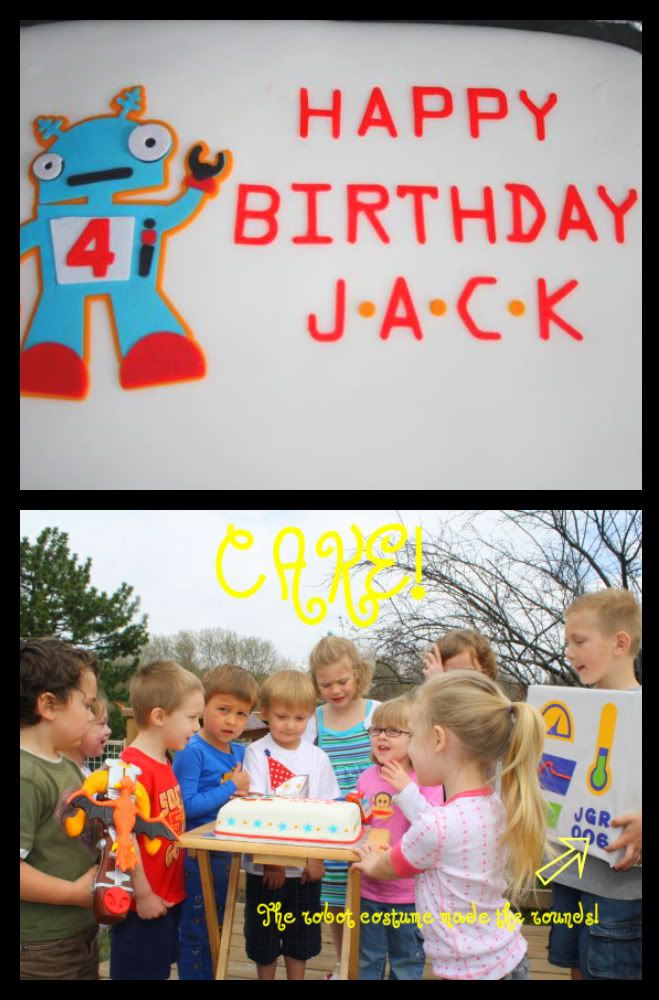 I used my cricut to create the images, but you can use ANY electronic paper cutter. Thanks Diana for letting me borrow the cartridge. If she had not had that cartridge, I would have just utilized my Make-The-Cut program and created my own image to cut out of gum paste.
I used the MTC program to get some "robot" lettering. The same font is on both the cake and the banner...and that makes me happy. :)
A quick tip on adhering gum paste: There are a couple of different ways out there to do this. For this particular cake, I used a tiny paint brush and dipped it in a tiny bit of shortening. I then "painted" very very lightly the back of the gum paste items just like glue. It worked much better then using water (the red was destine to run if I did that) and I don't own "gum paste glue".
Fondant and gum paste make it so easy to create a beautiful cake! I love all the skills I've learned from my mom. If you've ever wanted to make a cake for your little one's party or a baby shower or just because but have been intimidated...DON'T BE! Working with these two mediums is so easy. I was so scared for a while, but once I tried it, I LOVED it and am hooked! Even before I did anything with gum paste and my electronic paper cutter, I was having a lot of fun using just fondant to decorate. A tip on using fondant: DO NOT USE THE STORE BOUGHT KIND! It smells and tastes awful. Find a recipe online and go from there!
But...I digress. Back to the PARTY!
 I am LOVING the current trend to make beautiful fabric bunting banners. However, I was a bit burned out on sewing from a big order I had. Then, I found some adorable robot papers at Hobby Lobby and knew I could make the same thing quicker with the papers. So, I cut my paper into triangles (I think i got 6 per 12x12 sheet), taped ribbon to the back and BAM! I had some cute decorations. TIP: I made the bunting in various lengths, hanging them by the goodie bags, over the kitchen door, by the gift table, and outside. I then reused one of the buntings in some silly pictures I took of Jackson after the party (see first picture). I LOVE my buntings and am so glad I made them. (If bunting is not the word, please feel free to leave a comment and correct me).
The food was simple...water bottles with cute stickers on them, apple juice with "ROBOT JUICE" or "ENERGY DRINK" labels (complete with a robot stamp over the wording) and NUTS AND BOLTS, a mix of pretzels, cherrios, m&m's, marshmallows, and cheez-its. It was a cute mix and the kids seemed to gobble it up. I also used a great printable to make snack bags of Nuts and Bolts for the goodie bags. (she has other robot printables as well, check her out!) I baked a LARGE cake and I didn't want kids getting full of grapes and finger foods before it was time to dig in to the good stuff!


So, I scratched my first set of ideas and started thinking of what I could do that would be fun, keep kids attention, and not cost an arm and a leg. I came up with doing the Robot dance (check out the pics...Bart taught the kids to do the Robot...got a few robot songs from Yo Gabba Gabba, Phineus and Ferb, and another band whose name escapes me but is not a kids band...will post that when Bart is awake to tell me...we bought ours for 99 cents from Amazon.com), Hot Bot (think Hot Potato but with a bean bag I made that has a Robot on it with flannel from Joann's), Pin the Robot on the Robot (I really need a better name for this one :) Also, I used some vinyl rub ons I will be reviewing this week...I could have easily created a robot by drawing squares and rectangles on a poster board and letting the boys color it in), and a bean bag toss whose basic concept came from another blog.
Bean Bag Toss Tutorial:

- Beg, borrow, or steal a wardrobe box. This was perfect because it is about four foot tall (the kids are all less then 4 ft. tall so they think it is huge), has its own base, and gives you a large surface to work with.
- Either use the back side of an ugly roll of wrapping paper that came with some adorable wrapping papers OR buy some white paper on a roll.
- Sketch out what you want your robot to look like. Robots are so easy to recreate because they are basically rectangles. I used the image from the blog and my own imagination.
- Use some cheap craft paints that you have lying around to paint your robot with sponge brushes and small tip brushes for the tiny parts.
- Once dry, cut some holes in various spots to create targets for the bean bag toss. I then used packing tape and went around my edges so that the paper would not rip.
- Hand your kids some bean bags and let them go to town!
Bean Bag Tutorial:

- Find a cute fabric you love or use some of your stash. The kids really won't care if there are robots on the bean bag...since I'd already purchased 1/4 of a yard of robot fabric from Joann's, knowing I'd find a use for it, I used that.
- Find an old c.d. that is all dusty because you only use your MP3 player now.
- Trace the c.d. on the backside of the fabric a circle around the image on the fabric you want to cut.
- Cut it out.
- Repeat twice for each bean bag you want to make.
- Sew with the right side up and down (does that make sense? So that they wrong sides are touching in the middle), back stitching a few stitches at your start. I had my needle in the middle position and used my presser foot as a seam edge guide. Go almost all the way around (I left about a 2 inch opening), back stitch, pick up your presser foot, turn your circle around and sew back the OTHER way...meaning, sew around your circle, then reinforce your stitches by sewing around again. I found this necessary when an out of town guest tried out the bean bag toss last week and beans went EVERYWHERE!
- Find some dried beans from your food storage and stuff until about 3/4 of the way full.
- Carefully place your bean bag under your sewing machine again and seal the gap you left. I sewed over the open edge twice, once again for reinforcement!
- Enjoy tossing your new custom made bean bag at your targets. Overall I'd call the party a success. Jackson got enough money to buy the rocket he wants, the kids all left with smiles on their faces, and my boys didn't stop talking about playing with friends, doing the robot, and "winning" the pin the robot game for hours afterward!
Stay tuned this week for an easy tutorial to make a shirt like Ethan's, reviews of some robot products, a few giveaways, and a run down of the goodie bag loot! This post is long enough :)


3 Words to brighten my day:
very cool!! looks like they had a ton of fun. I love how it all coordinates!
This party totally rocks!!! I LOVE it and I am sure Jackson did too. You did a great job and put a ton of work into it. The cake is awesome. I might have to steal some of these ideas when Mason turns 4!!
That's one robotastic party! That cake is awesome. Loved the refueling station and the bean bag robot toss. You come up with such fun ideas; you should throw parties like Jamie does but instead of weddings do birthdays! Seriously, you have a gift!
Post a Comment